There are numerous ways that a sale or order can be saved to a table.
These are listed as follows; click on the desired method below for more details:
The Modify Table Map allow the Tables only to be moved, and no editing of Lines, Boxes or Text. As the building layout (walls, doors, etc.) never change during service, it makes sense to allow changes only to Tables. Changes to the Table Map that are needing more than just tables can still be performed by going into Setup > Restaurant > Table Maps > Modify.
Table Maps that are modified through the POS Screen happen “live” on all POS screens displaying the Table Map. Slower terminals may lag when tables are being moved, but the table position change is relatively instant.
Select the button to access Modify Map.
Press the Modify button to move Tables.
The screen will change to a Drag and Drop interface. If using a Touchscreen, drag a table to the new position. If using a mouse, click on a table and hold it down, drag it to where you want it to be and release. This is also where the “Inactive” button has been moved to.
Once you have finished modifying the Table Map, press the Finish Modify button. You will return to the default Table Map.
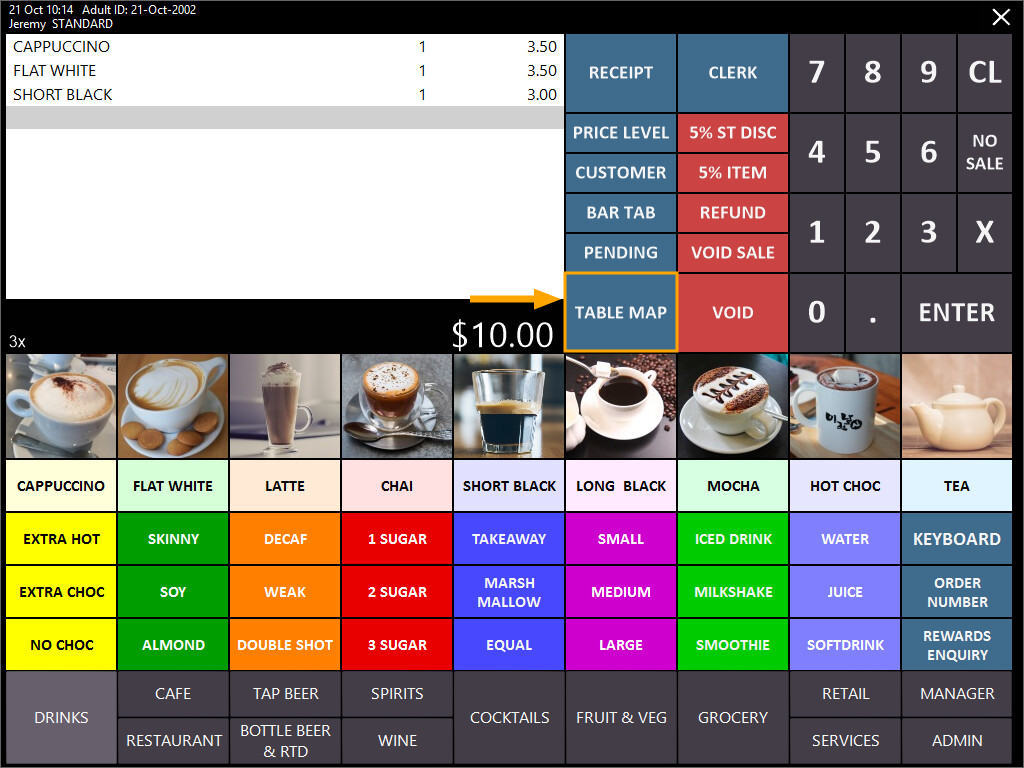
This function is used when you have added items to a standard sale, and want to save the items onto a table.
When you press the Table Map button, Idealpos will save the sale to a table.
If the Yes/No Option "Confirm to Transfer Cash Sale to a Table" is enabled, a confirmation will be displayed when saving the sale to a table to confirm whether you want to continue. Pressing "Yes" will continue and proceed onto the Table Map screen where you can select a Table to save the sale to.
Pressing "No" will return to the sale screen so that you can continue with processing the sale.
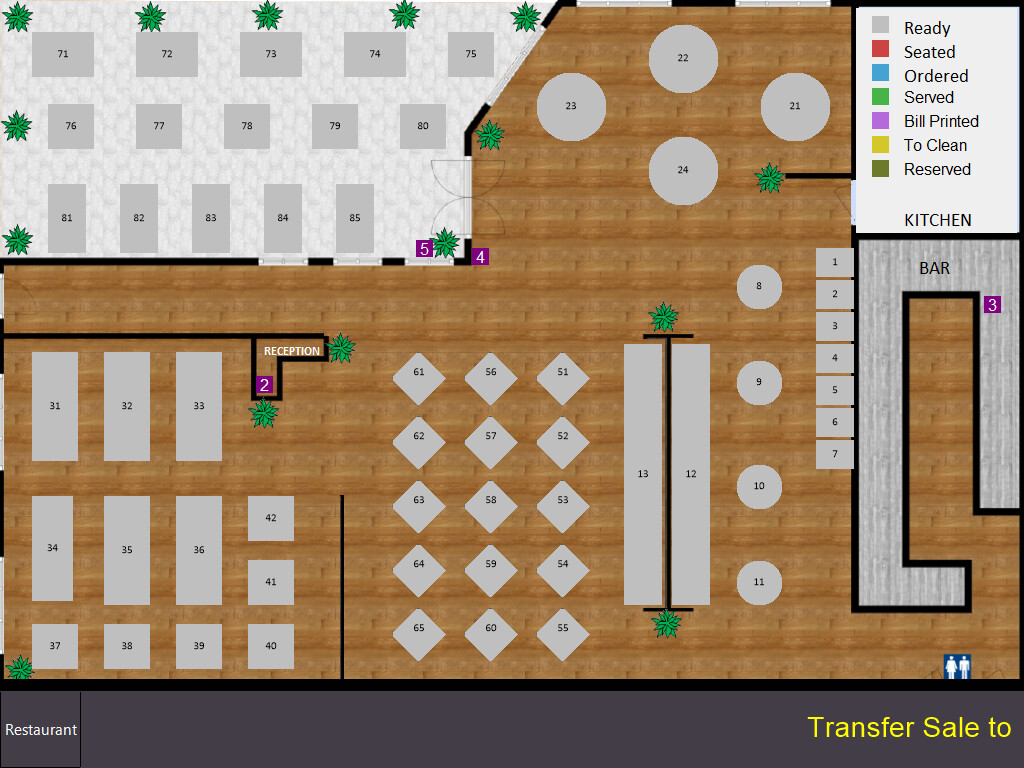
After pressing "Yes", the Table Map is displayed; select a Table from the Table Map to Transfer the sale to:
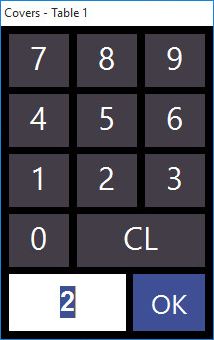
After a Table is selected, the Covers prompt will be displayed (if the Yes/No Option "Prompt for Covers" is enabled).
Enter the number of Guests/Covers to be seated at the table:
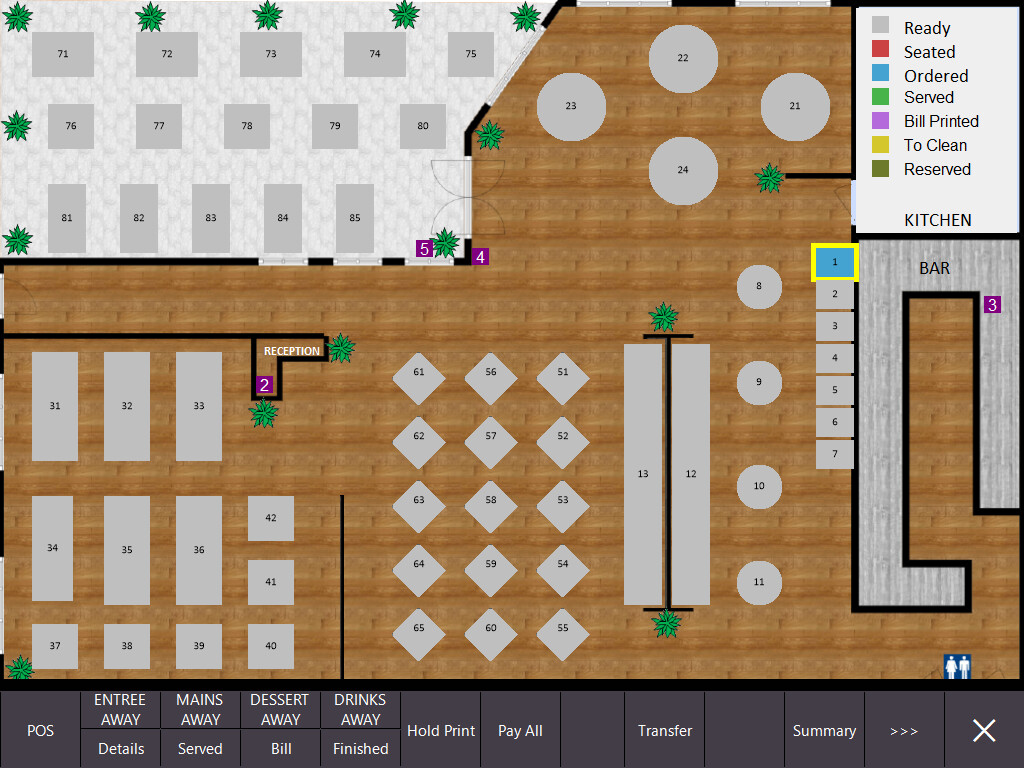
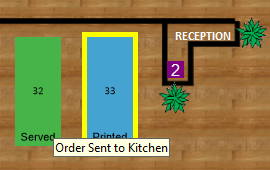
The Table which the sale was saved to will change colour, indicating that the order has now been placed to the table.
The Table Map can be closed by pressing the "X" on the bottom-right corner of the Table Map window.
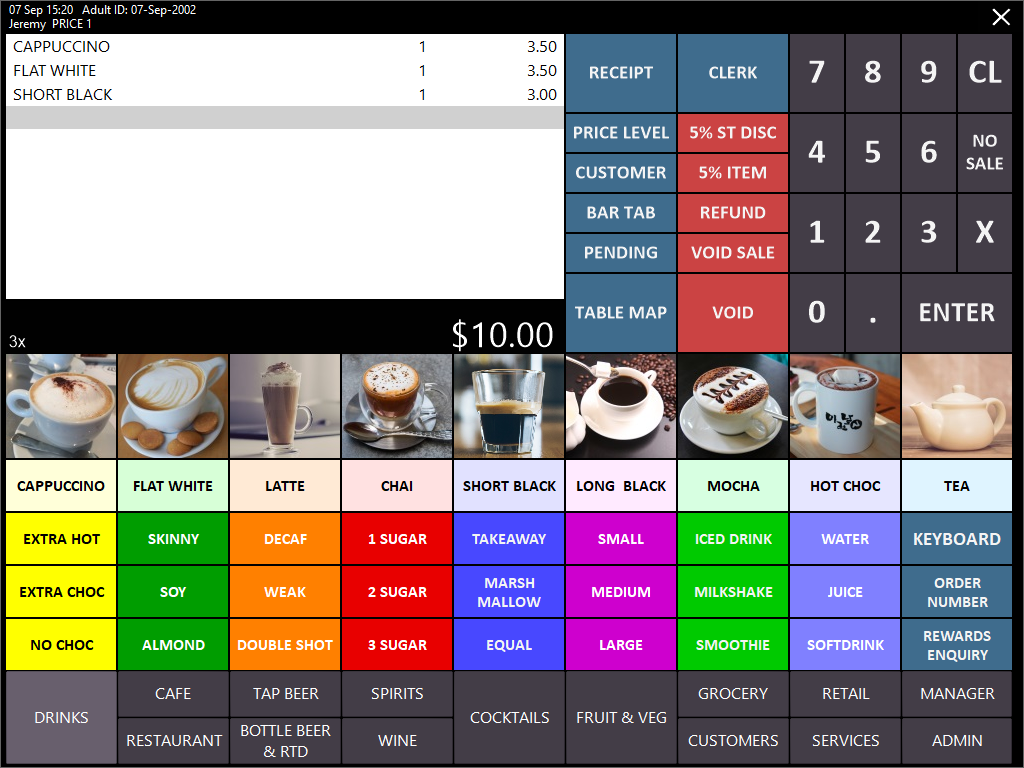
From the Sale Screen, add the required Stock Items to the sale.
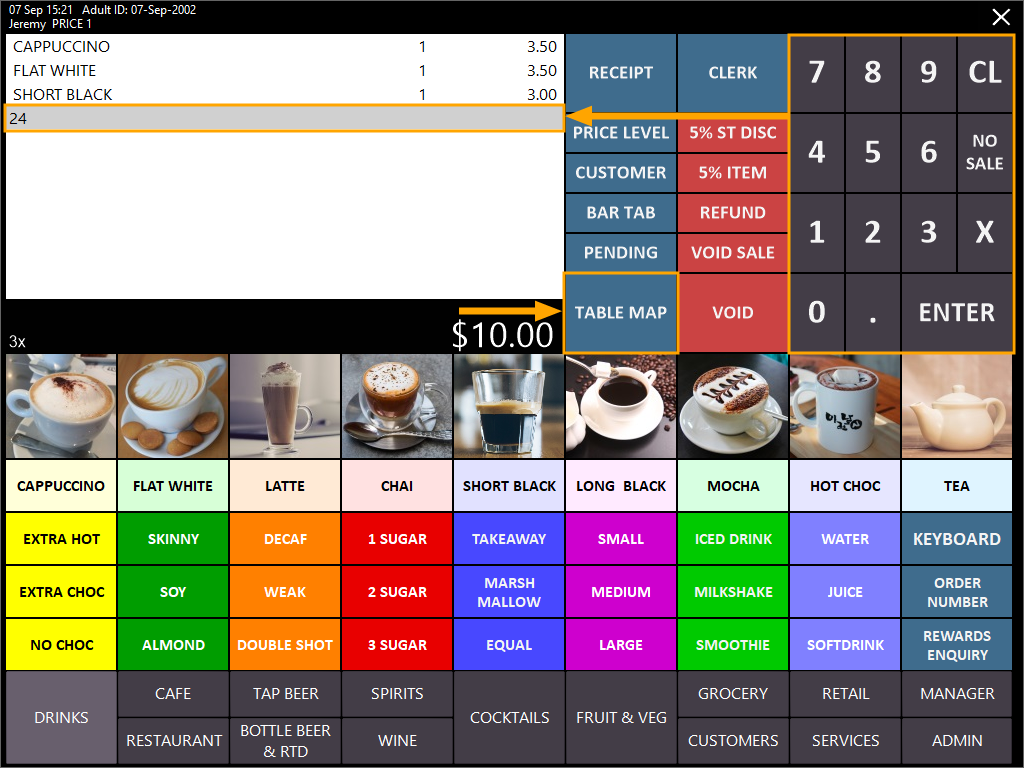
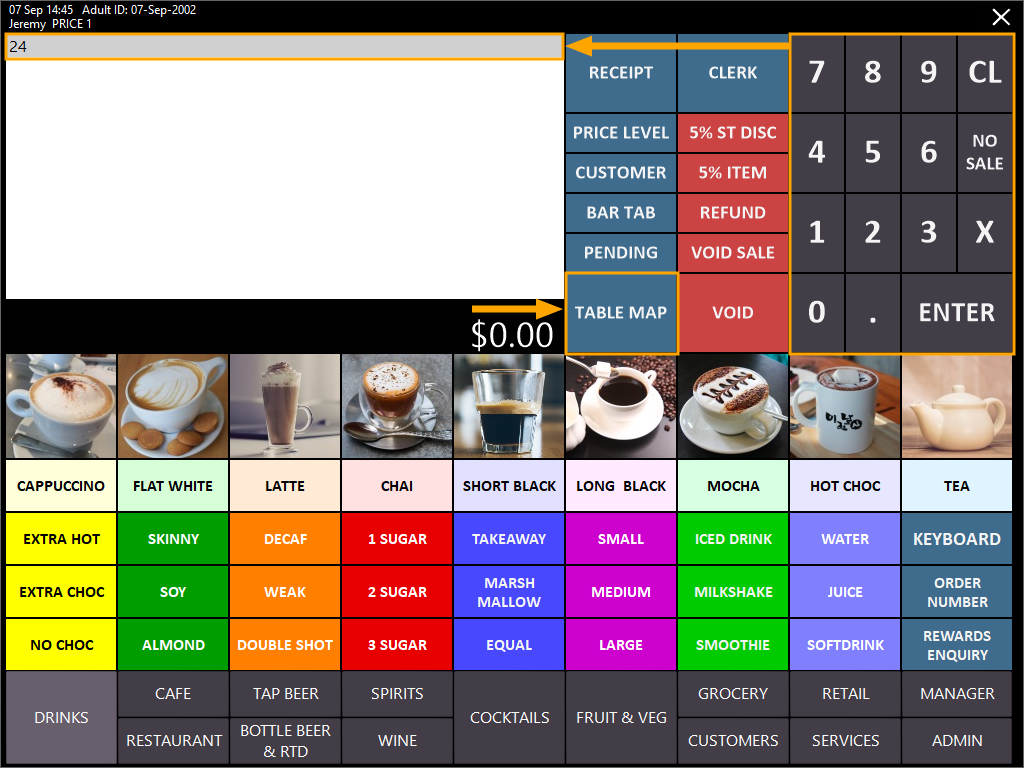
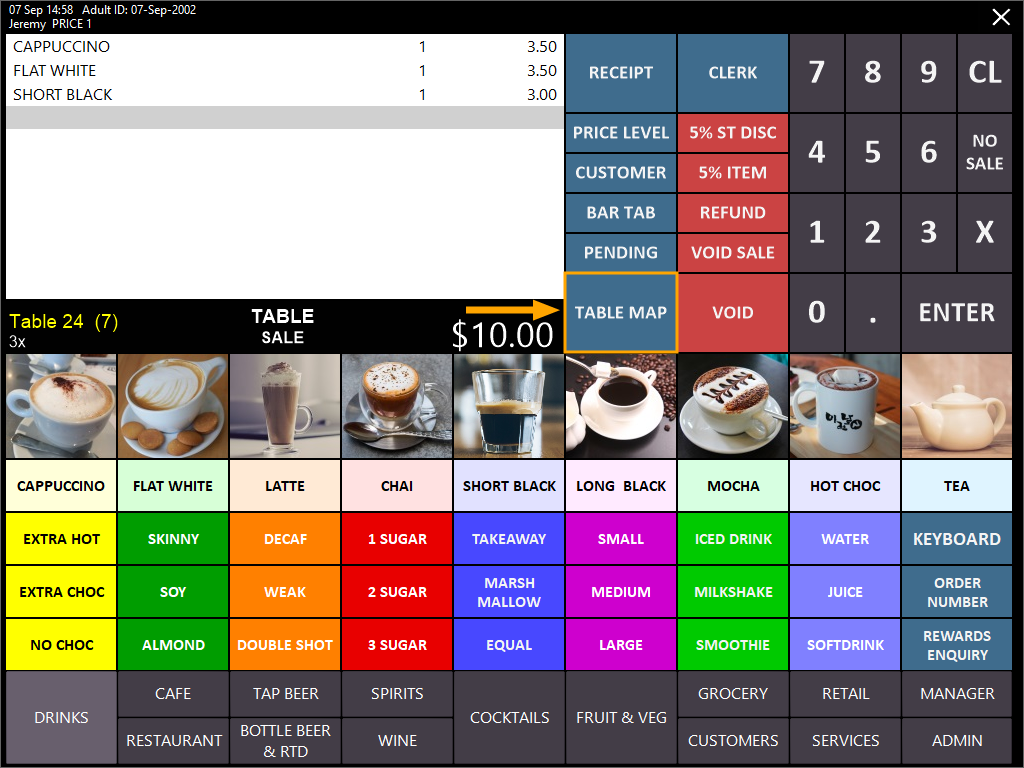
Enter the Table Number using the on-screen numeric keypad, then press the "Table Map" button.
If any mistakes are made during the keying of the Table Number, you may use the CL button to clear the entered Table Number and try again.
If Yes/No Options "Warn when Saving Tables" and/or "Confirm to Transfer Cash Sale to a Table" are enabled, the below confirmation prompt will be displayed:
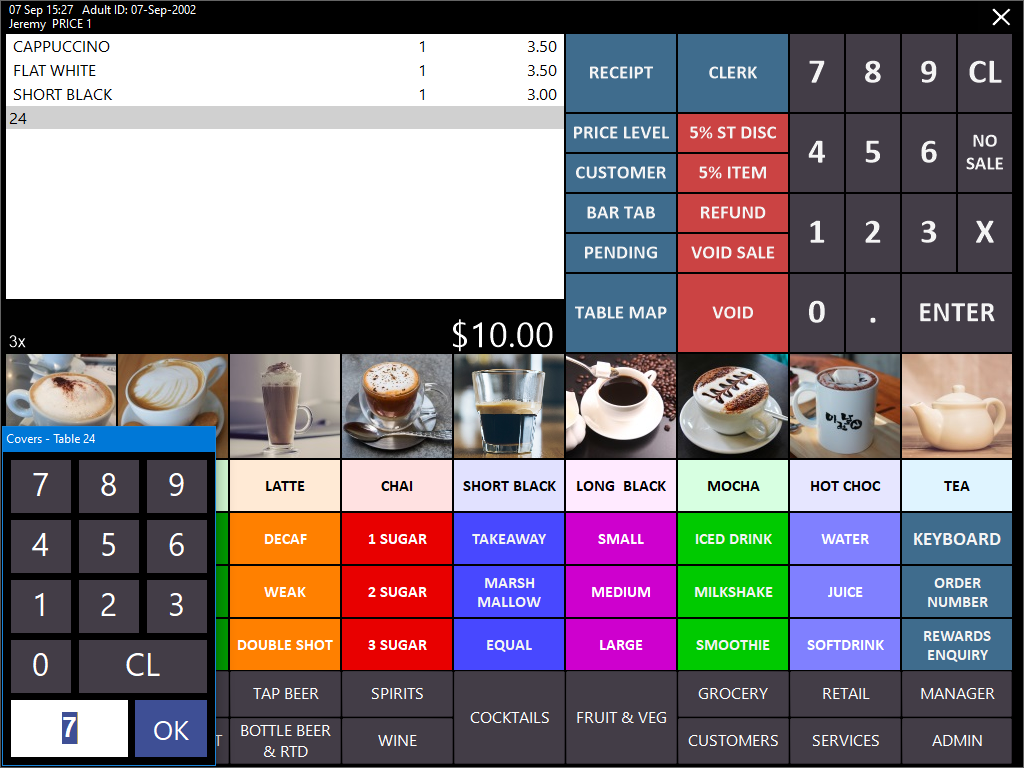
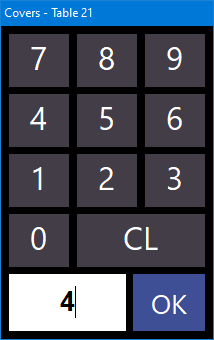
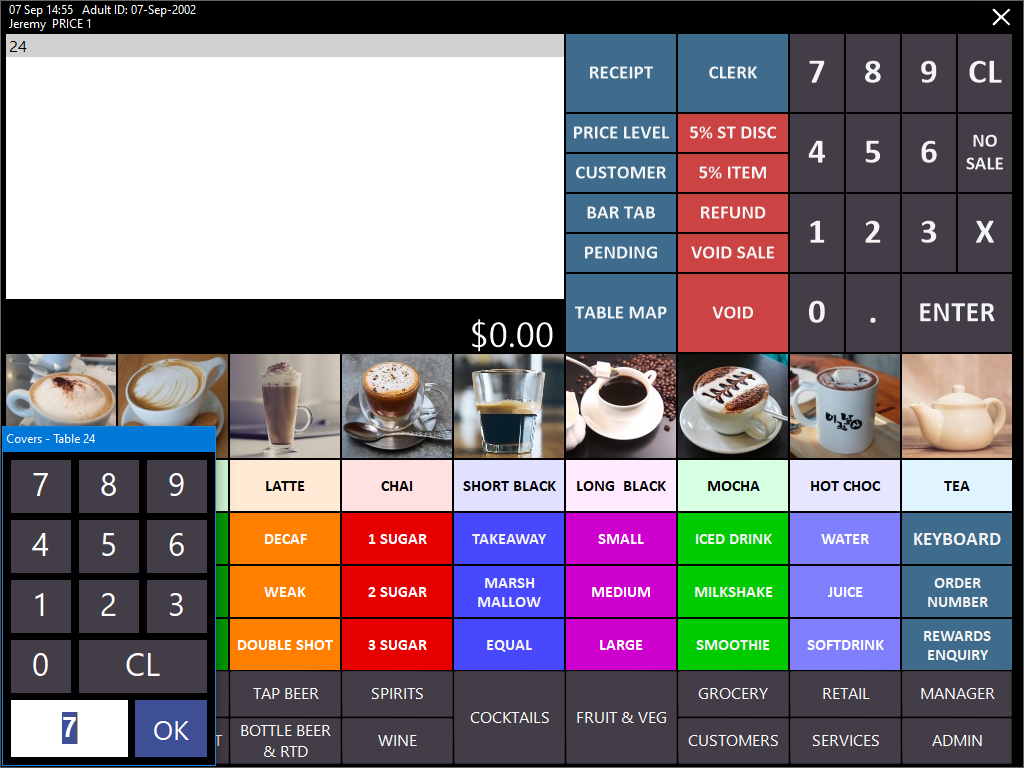
If Yes/No Option "Prompt for Covers" is enabled, the following Covers prompt will be displayed.
Enter the number of Covers/Guests seated at the table, then press "OK":
The items have now been saved to the table.
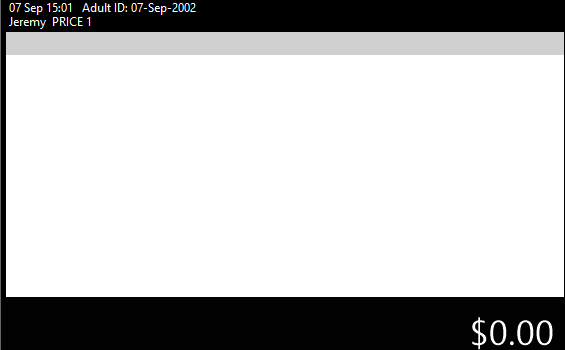
Idealpos will display a blank sale screen:
A screen other than a blank sale screen may appear depending on your system setup (i.e. If Compulsory Clerk is enabled, ENTER CLERK will appear within the Sale Screen or if Compulsory Clerk AND Allow Home Screen are both enabled, the Home Screen will be displayed).
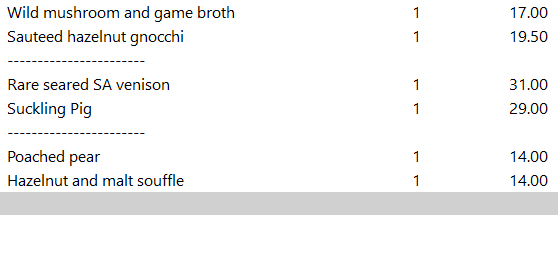
If required, you can confirm that the items have been saved to the table by pressing the "Table Map" button, then select the Table from the Table Map and press the "Details" button - the ordered Items will appear on the Table.
Starting with an empty sale, press the "Table Map" button to navigate to it. The Table Map button is usually located in an easily accessible area when using it for restaurants.
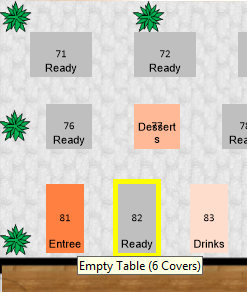
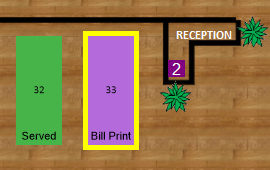
Select a Ready table from the Table Map simply by pressing it. A Yellow border will surround the table selected.
The next steps below will vary depending on whether or not the Yes/No Option "Inhibit Occupy Table Function" is disabled/unticked.
Click on the option relevant to your system.
If you're unsure, you may click on each option to determine which steps are applicable to your current system setup.
If "Inhibit Occupy Table Function" is disabled/unticked in the Yes/No Options, an Occupy button will appear at the bottom left of the screen when selecting a table with a "Ready" status.
If your system shows a "POS" button on the bottom-left corner when selecting a "Ready" table, this means that the Inhibit Occupy Table Function is enabled.
Please refer to the "Inhibit Occupy Table Function enabled" heading below for steps that are relevant to your configuration.
Pressing "Occupy" will trigger the following to occur:
Once the above steps have been completed, the colour of the table will change.
Press the "POS" button to enter the POS Screen.
If the "Inhibit Occupy Table Function" is enabled/ticked in the Yes/No Options, a POS button will appear at the bottom left of the screen when selecting a table with a "Ready" status.
If your system shows an "Occupy" button on the bottom-left corner of the when selecting a "Ready" table, this means that the Inhibit Occupy Table Function is disabled.
Please refer to the "Inhibit Occupy Table Function disabled" heading above for steps that are relevant to your configuration.
Pressing "POS" will trigger the following to occur:
Once the above step has been completed, the POS Screen will be displayed.
Once the steps outlined below either Inhibit Occupy Table Function disabled/enabled have been completed and you've arrived at the POS Screen, add the required items to the sale.
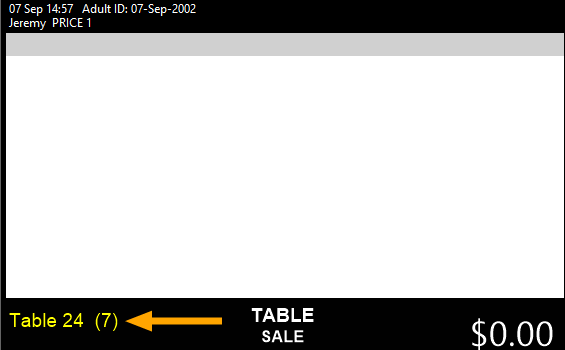
The table details will be displayed at the bottom of the sale window.
Press the Table Map button again to save items to the table.
From an empty sale screen (no Stock Items added to the sale), enter the Table Number, then press the "Table Map" button. If any mistakes are made during the keying of the Table Number, you may use the CL button to clear the entered Table Number and try again.
If the Yes/No Option "Prompt for Covers" is enabled, the following Covers prompt will be displayed. Enter the number of Covers/Guests seated at the table, then press "OK":
The entered Table Number and Number of Covers/Guests will appear below the sale screen as shown in the below example:
Add the required Items, then press the "Table Map" button:
If Yes/No Options "Warn when Saving Tables" and/or "Confirm to Transfer Cash Sale to a Table" are enabled, the below confirmation prompt will be displayed:
The items have now been saved to the table.
Idealpos will display a blank sale screen:
A screen other than a blank sale screen may appear depending on your system setup (i.e. If Compulsory Clerk is enabled, ENTER CLERK will appear within the Sale Screen or if Compulsory Clerk AND Allow Home Screen are both enabled, the Home Screen will be displayed).
If required, you can confirm that the items have been saved to the table by pressing the "Table Map" button, then select the Table from the Table Map and press the "Details" button - the ordered Items will appear on the Table.
For more information about using the Handheld app, please refer to the "Using Ideal Handheld" topic in the User Guide.
Bill is an easy function that can be controlled by User and Clerk Permissions.
Highlight the table on the table map.
Press the Bill button.
The receipt will print to the default receipt printer. The table will change colour to Pink, and after the time set in Global Options is up, it will start to flash.
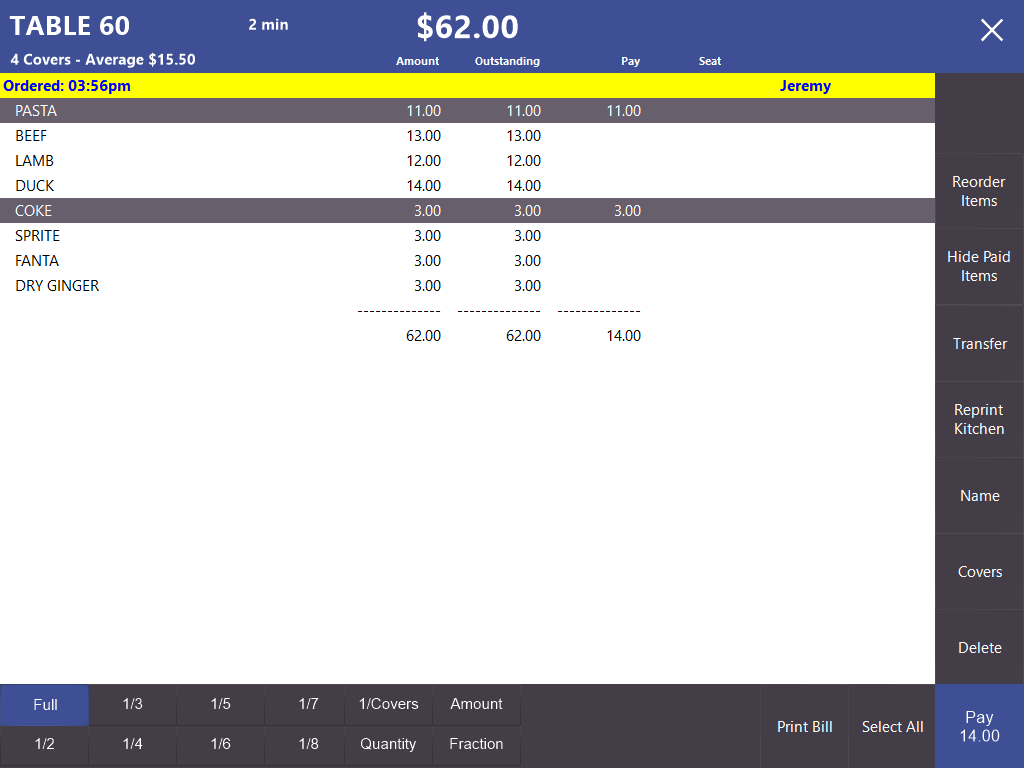
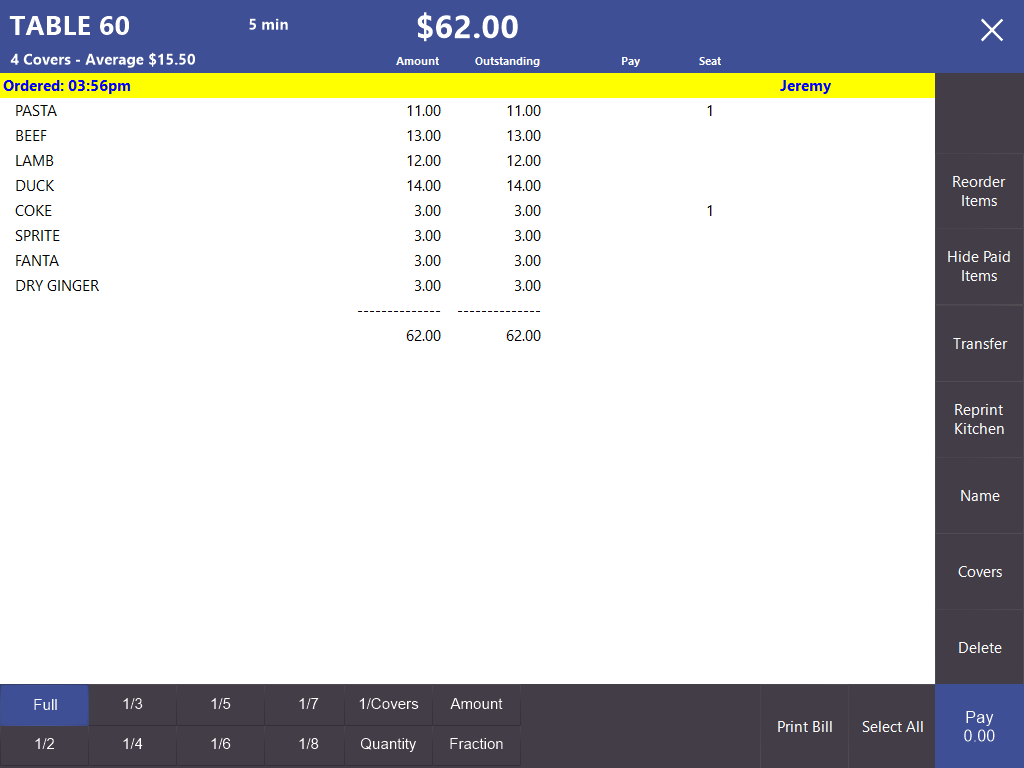
A quick and easy way to print bills for Seats is to do it from the Table Details screen. Select the table and press Details.
Highlight the Items you want to allocate to a seat.
Press the Print Bill button at the bottom of the Table Details screen.
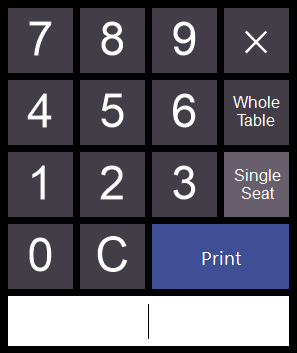
A new window will open. From here you can select to print the bill for the Whole Table, or select Single Seat to print them individually.
Enter a Seat number then press Print.
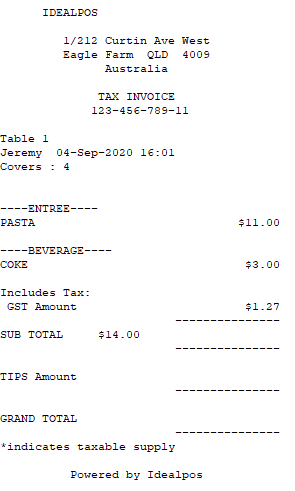
A bill will be printed to the default receipt printer.
The Table Details screen will be modified and the Seat number you entered will be displayed in the Seat column next to the items selected.
This Print Bill process can be repeated for each seat number at the table until all items on the table have been assigned to a seat number and had a bill printed.